
The build for this kit is going to be a challenge because of its quality. After some research I understand that this is an old kit (as in old fashion mold) but I like to improve kits so....it will be my pleasure.

Here I scratched the body to fit the chrome stripe in the end.

Some repairs for the body with cement Contacta by Revell.

The grille was a bit adjusted in the headlights area (thinner cylinder made with the drill). But not thinner enough...

Thinner housing added for the headlights and painted grille with some chrome spray.

The roof has been updated with a detail (chrome stripe).

Primed body with grey color.

For the interior I wanted to apply carpet texture so I started with the "cuts" by adding wire glued with super glue gel.

Textured interior with fine beige flocking

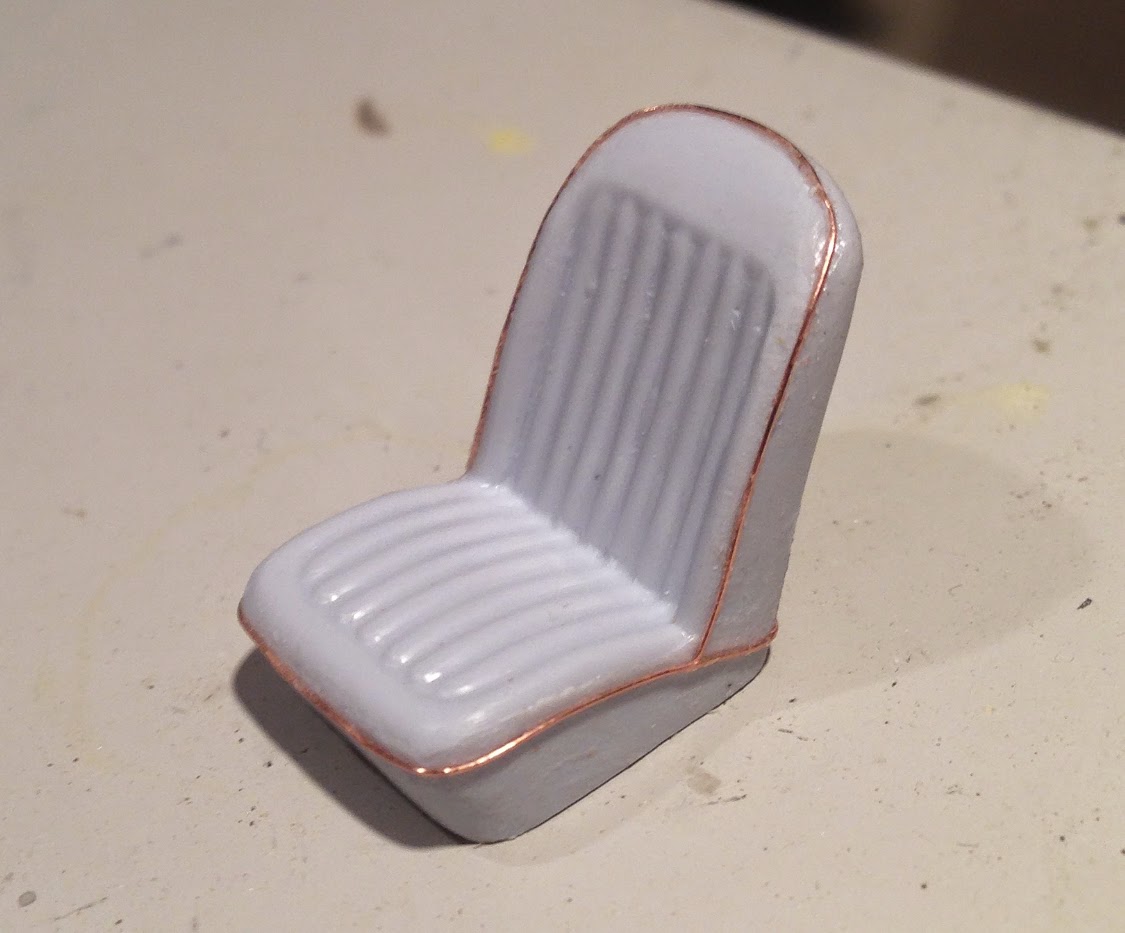
Another detail added with wire was done for the seats

The adhesive was super glue gel as well. It allows you to move a bit slower if needed.

After the third painting session first blue, second cream color, blue again....I got kind of tired and frustrated but I didn't let go. Every session had some major imperfections which lead to repaint ....imperfections such as lacquer layer too thick, or sticky lacquer or dust particles.

The paint was acrylic. I removed the paint using brake fluid. It's the best.

Watching Doctor Cranky Lab-Rat-ory I find that nail lacquer is the next best thing to paint your car model. It dries very fast, it sand's very nice and it's very airbrush friendly. Thanks Doctor Cranky :)
Here's the last update in blue nail lacquer.

I choose to add the chrome parts before I will apply the clear lacquer and the reason being that there's no way you will avoid to ruin the paint when glue those shiny parts. I glued the parts with gel super glue and the imperfections can be sanded with no problem.

To be continued....
No comments:
Post a Comment